Home > Product > PLC programmable module > 140CPS11100 Input module
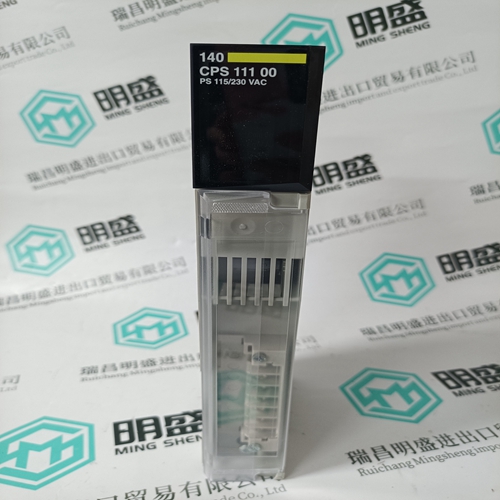
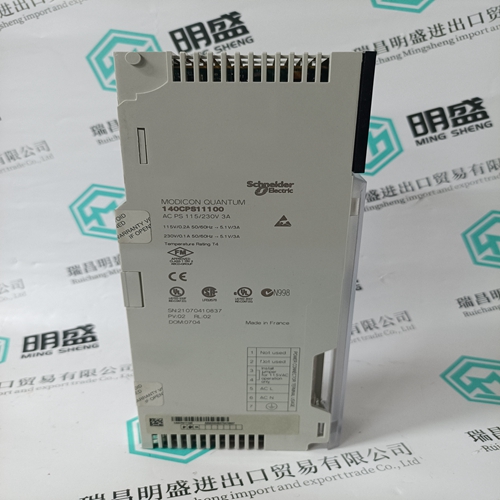
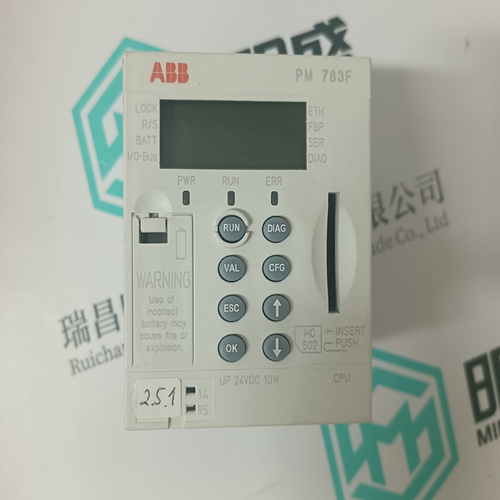
140CPS11100 Input module
- Product ID: 140CPS11100
- Brand: 140PLC
- Place of origin: the United States
- Goods status: new/used
- Delivery date: stock
- The quality assurance period: 365 days
- Phone/WhatsApp/WeChat:+86 15270269218
- Email:stodcdcs@gmail.com
- Tags:140CPS11100Input module
- Get the latest price:Click to consult
The main products
Spare parts spare parts, the DCS control system of PLC system and the robot system spare parts,
Brand advantage: Allen Bradley, BentlyNevada, ABB, Emerson Ovation, Honeywell DCS, Rockwell ICS Triplex, FOXBORO, Schneider PLC, GE Fanuc, Motorola, HIMA, TRICONEX, Prosoft etc. Various kinds of imported industrial parts
Products are widely used in metallurgy, petroleum, glass, aluminum manufacturing, petrochemical industry, coal mine, papermaking, printing, textile printing and dyeing, machinery, electronics, automobile manufacturing, tobacco, plastics machinery, electric power, water conservancy, water treatment/environmental protection, municipal engineering, boiler heating, energy, power transmission and distribution and so on.
140CPS11100 Input module
Preparing the DNA Samples, DNA Ladder and the Buffer Tube Notes: DNA Ladder should be prepared in the same buffer as your DNA samples. A buffer mismatch between sample and ladder may lead to inaccurate quantitation and sizing. DNA sample buffer solution is the user's DNA buffer such as PCR buffer, etc.
Preparing the Ladder Tube 1 Gently vortex DNA Ladder (yellow cap ) for 10 seconds. Briefly spin the ladder vial. 2 In the provided 0.2 mL Ladder Tube, add 12 µL of DNA Ladder to 108 µL of 1X DNA sample buffer solution. Mix thoroughly by pipetting the solution up and down several times. Ensure there are no air bubbles in the Ladder Tube. 3 Insert the Ladder Tube into the ladder slot on the LabChip GX Touch/GXII Touch instrument. 4 Recommended sample volumes are 25 µL for a 384-well plate or 40 µL for a 96-well plate.
Preparing the Buffer Tube
1 Add 750 µL of 1X DNA Sample Buffer solution to the 0.75 mL Buffer Tube provided with the reagent kit. Ensure there are no air bubbles in the Buffer Tube. 2 Insert the Buffer Tube into the buffer slot on the LabChip GX Touch/GXII Touch instrument. Preparing the Chip 1 Allow the chip to equilibrate to room temperature for at least 30 minutes before use. 2 Use a pipette tip attached to a vacuum line to thoroughly aspirate all fluid from the chip wells (see Figure 2). For more details on how to set up a vacuum line see page 31.
3 Rinse and completely aspirate each active chip well (1, 3, 4, 7, 8 and 10) twice with water. Do not allow active wells to remain dry. 4 If any water spills onto the top and bottom chip surfaces during rinsing, aspirate using the vacuum line. DO NOT run the tip over the central region of the detection window. Use the provided Detection Window Cleaning Cloth dampened in water (Milli-Q® or equivalent) or alcohol to clean chip detection window as needed. 5 Using a reverse pipetting technique, add Gel-Dye solution to chip wells 3, 7, 8 and 10 as shown in Figure 3 (Low-throughput) or Figure 4 (High-throughput).
Add DNA Marker
(green cap ) to chip well 4 as shown in Figure 3 (Low-throughput) or Figure 4 (High-throughput). For the High-throughput chip preparation add 50 µL DNA Marker for 96-well plates and 120 µL DNA Marker for 384-well plates or multiple 96-well plate analysis. Note: The marker well may need to be replenished if the chip is in idle mode on the instrument for an extended period of time. 7 Make sure the rims of the chip wells are clean and dry. 8 IMPORTANT: Ensure chip well 1 (waste well) is empty before placing the chip into the instrument. Note: Use the Low-throughput protocol when running the LabChip GX Touch/GXII Touch 24 instrument.