Home > Product > DCS control system > EPRO MMS6220 The front sensor
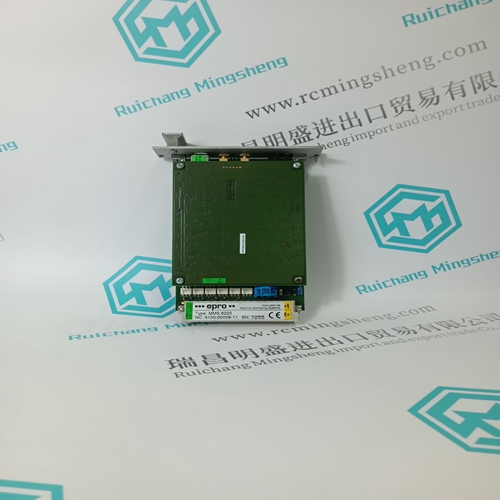
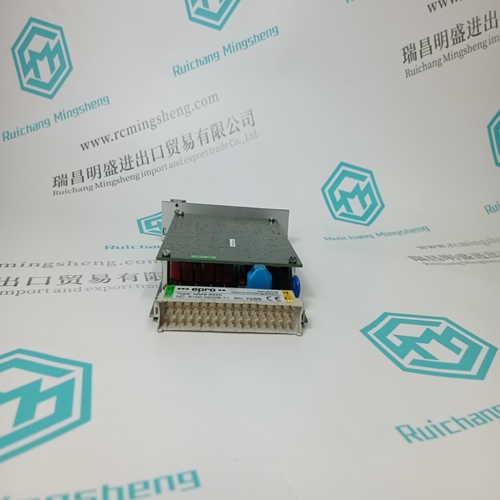
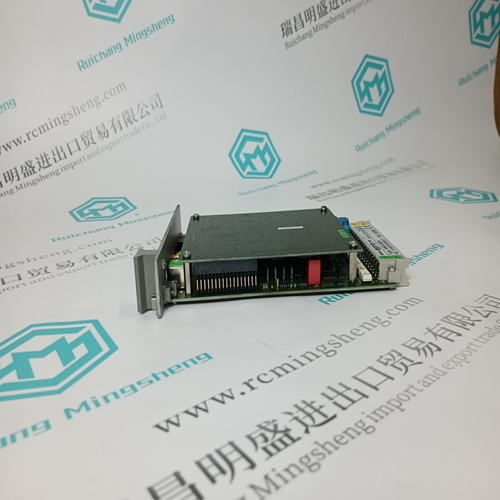
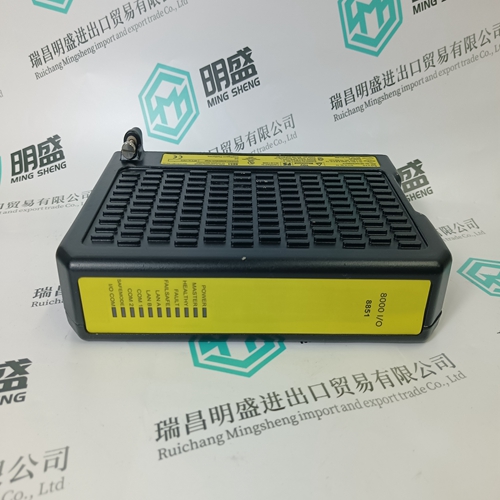
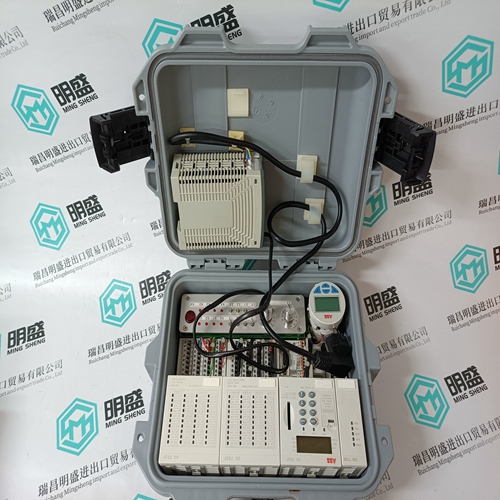
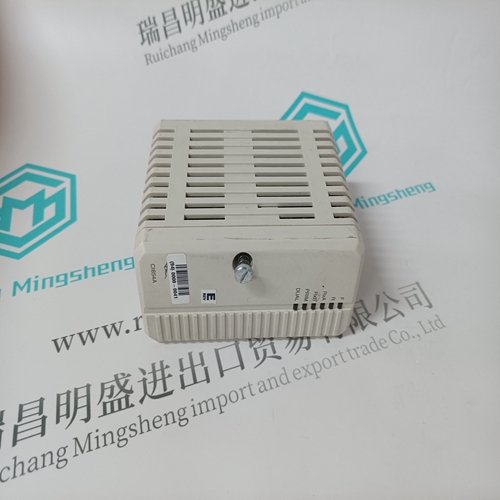
EPRO MMS6220 The front sensor
- Product ID: EPRO
- Brand: MMS6220
- Place of origin: The United States
- Goods status: new/used
- Delivery date: stock
- The quality assurance period: 365 days
- Phone/WhatsApp/WeChat:+86 15270269218
- Email:stodcdcs@gmail.com
- Tags:EPRO MMS6220The front sensor
- Get the latest price:Click to consult
The main products
Spare parts spare parts, the DCS control system of PLC system and the robot system spare parts,
Brand advantage: Allen Bradley, BentlyNevada, ABB, Emerson Ovation, Honeywell DCS, Rockwell ICS Triplex, FOXBORO, Schneider PLC, GE Fanuc, Motorola, HIMA, TRICONEX, Prosoft etc. Various kinds of imported industrial parts
EPRO MMS6220 The front sensor
11.5.4 I/O Expander Board REMOVAL: 1. In a hazardous area, remove input power from Controller. 2. Remove Display Assembly and MPU Controller board as described in previous sections. 3. Refer to Figure 11-4. Grasp the edge of the I/O Expander Board and pull the Board straight out of the case. 4. Place the Board in a static shielding bag. INSTALLATION 1. While wearing a grounded wrist strap, remove the I/O Expander Board from its static shielding bag. 2. If one or more communication boards must be attached to the MPU Controller board, refer to the Accessory Board section and then return here. 3. Insert the I/O Expander Board into the case and carefully guide the connector end of the board until it mates with the connector at the back of the case. Only when the connectors are mated should additional force be applied to seat the board. 4. Disconnect wrist strap. 5. Install MPU Controller board and Display Assembly as described in previous sections.
IMPORTANT
After replacing an I/O Expander board in a controller whose configuration includes an AINU function block: assemble the controller, apply power, ENTER configuration and STORE the SEN TYPE parameter. This must be done even if the SEN TYPE displays the desired type. This will ensure that the function block loads the correct calibration from the new Expander board. If desired, a FIELD CAL can then be performed.
11.5.5 Accessory Boards The Accessory Boards are the LIL Network board, Ethernet board, LonWorks board, RCB board, and RTC/CB board. Each of these boards mechanically fastens to and electrically connects to the MPU Controller board as shown in Figures 11-1 and 11-5. The following steps outline the board replacement procedure. 1. Remove the MPU Controller board from the case as described above. 2. Remove the hardware fastening the selected Accessory Board(s) to the MPU Controller board. Save the hardware. 3. Carefully unplug the Accessory Board(s) from the MPU Controller board. 4. Before installing the replacement board, read the installation statements below for the particular board type. Then, plug a new or replacement Accessory Board into the mating board and refasten the board(s) with the hardware saved in step 2.